
0
Owner's of the 3M Projector 3M gave it a score of 0 out of 5. Here's how the scores stacked up:

54
3M
™
Pocket Projector MP180
© 2011 3M. All Rights Reserved.
English
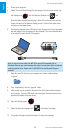
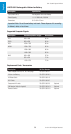
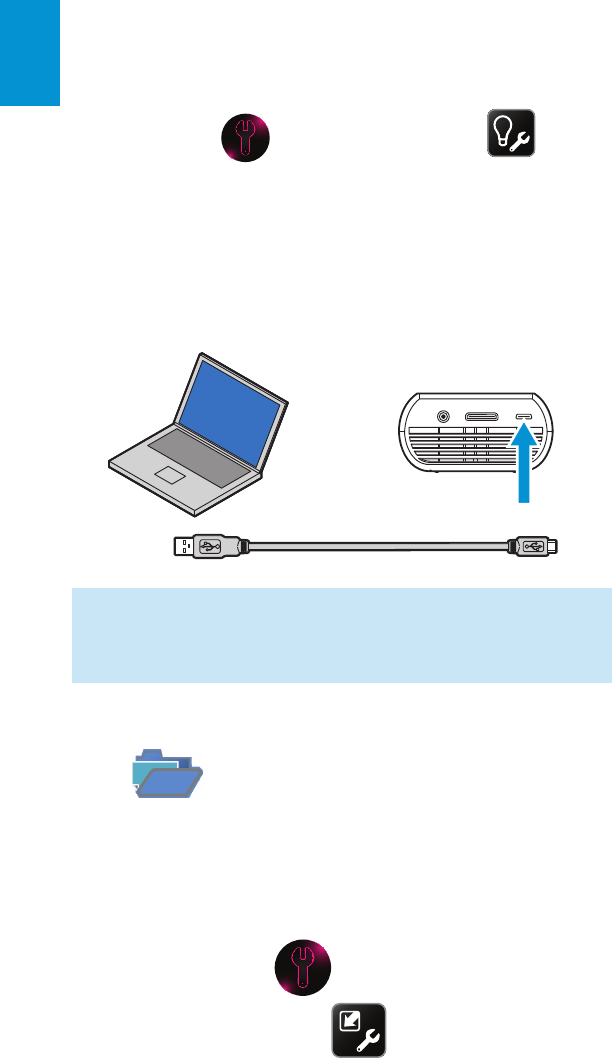
4 Power up the projector.
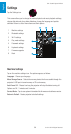
5 Select SD card in Mass Storage Source settings. From the home screen, tap
the Settings icon
, then the Machine Settings icon and
finally the Mass Storage Source button. Select SD card from the list and the
screen will return to the Machine Setting screen. Tab the Back button twice
and return to the home screen.
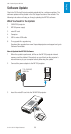
6 Connect the projector to the USB port on your computer and a new removable
disk will appear in the file browser on the computer. This new removable disk
is the microSD card in the MP180 projector.
Note: If you do not see either the MP180 or microSD removable disk in
Windows Explorer, you must reassign the drive to a new drive letter not already
used by another drive. Please refer to KB297694 on the Microsoft Support
website.
7 Open the microSD disk from your computer and create a folder labeled
“upgrade”.
8 Copy “upgrade.img” into the “upgrade” folder.
9 After the file copy is complete, disconnect the USB cable from the projector
and computer. Once the USB cable is disconnected, the touch screen on the
projector will display the home screen.
10 Open the Settings menu.
11 Select the firmware upgrade icon and tap the Yes button.
12 The update will begin and will take about 10 minutes to complete.


Find Your Products By Category
- Computer Equipment
- Portable Media
- Photography
- Car Audio and Video
- TV and Video
- Household Appliance
- Automotive
- Communications
- Kitchen Appliance
- Laundry Appliance
- Home Audio
- Lawn and Garden
- Power Tools
- Musical Instruments & Equipment
- Baby
- Personal Care
- Video Game
- Marine Equipment
- Fitness & Sports
- Outdoor Cooking
- Cell Phone
Please Login
