
0
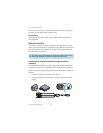
Owner's of the 3M Projector 3M Mobile Projector gave it a score of 0 out of 5. Here's how the scores stacked up:


47
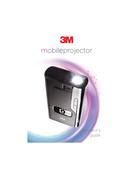
3M
™
Pocket Projector MP220
© 2012 3M. All Rights Reserved.
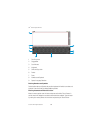
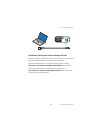
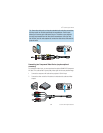
Using the USB Port
The MP220 has a USB connection located at the rear of the projector. You can
connect the MP220 projector to a computer and the computer can open both the
MP220 internal memory and microSD card like a disk drive.
Types of devices that may transfer data to the projector:
t Computers
t Netbooks
t Tablets
Troubleshooting: If your computer is running Microsoft Windows, the USB
Flash drive may not be available on your computer’s Windows Explorer. Please
refer to KB297694 on the Microsoft support website.
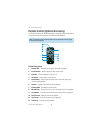
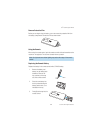
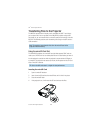
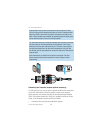
Transfer Files Using USB
1 Turn on the projector.
2 Connect the USB cable to the projector.
3 Connect the USB cable to the computer. The projector screen will display the
USB Mass Storage screen
4 Select the Turn on USB Storage button and the USB Android icon will turn red.
5 Select OK when the Turn on USB storage dialog appears.
The projector will be detected as a removable drive labeled “Internal” by the
computer. The drive labeled "Internal" is the projector's on-board memory,
and "Removable Disk" is the microSD card installed into the projector. Note
that the first time you connect your projector to a computer, it may take the
computer some time to detect and install drivers for reading the memory on
the projector.
6 The projector is now ready to receive a file from your computer.


Find Your Products By Category
- Computer Equipment
- Portable Media
- Photography
- Car Audio and Video
- TV and Video
- Household Appliance
- Automotive
- Communications
- Kitchen Appliance
- Laundry Appliance
- Home Audio
- Lawn and Garden
- Power Tools
- Musical Instruments & Equipment
- Baby
- Personal Care
- Video Game
- Marine Equipment
- Fitness & Sports
- Outdoor Cooking
- Cell Phone
Please Login
