
0
Owner's of the Beltronics Radar Detector Sti r Plus gave it a score of 0 out of 5. Here's how the scores stacked up:
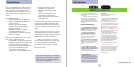

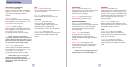
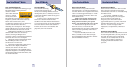
Quick Reference Guide
4 5
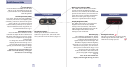
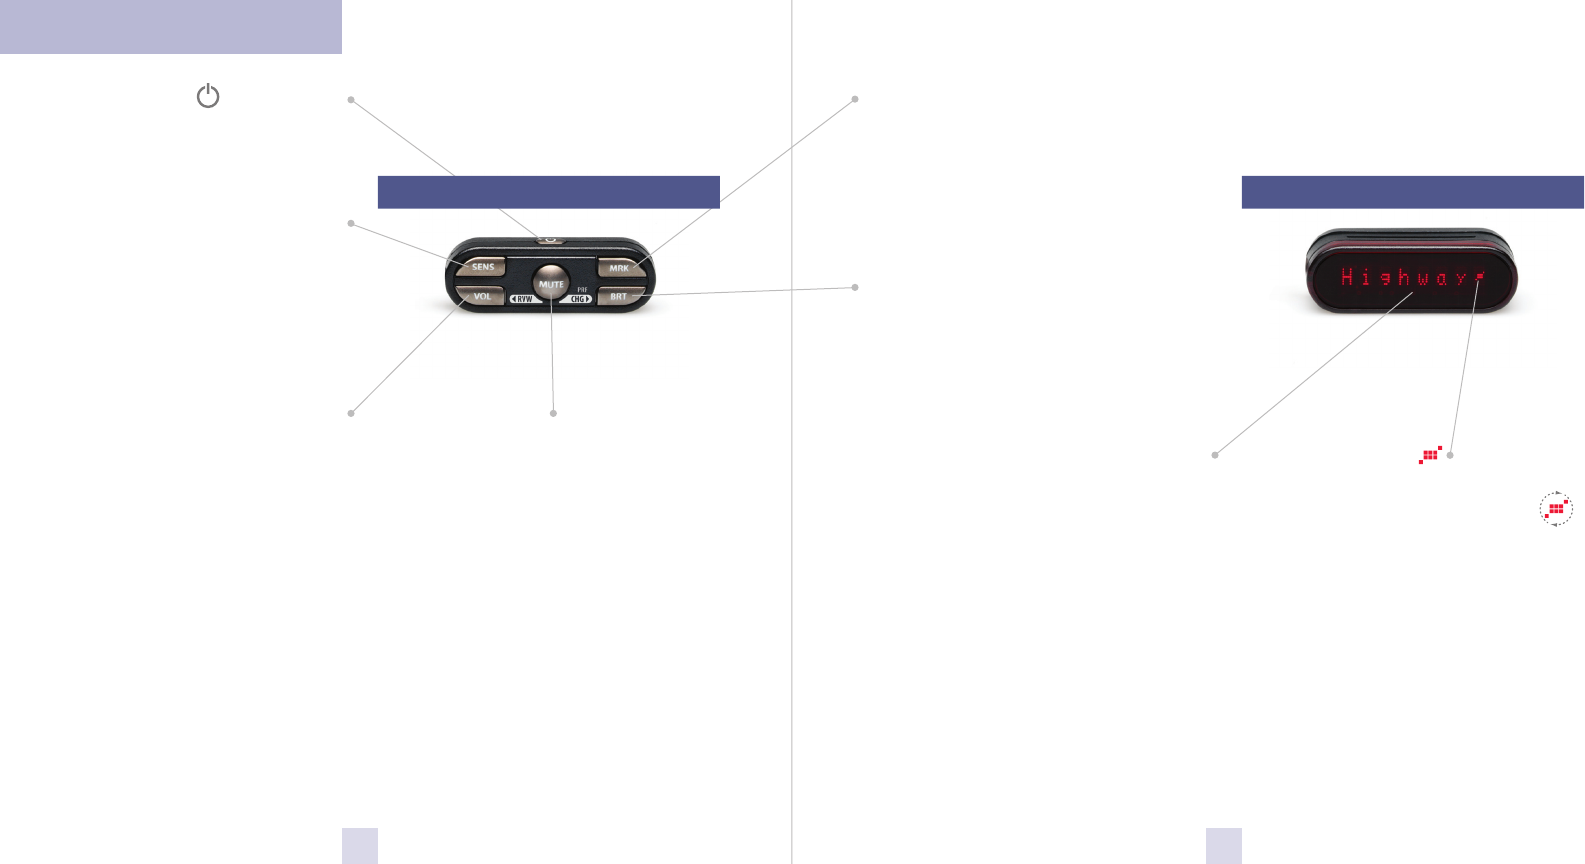
Mark Location Button (MRK)
The “MRK” button allows you to mark a
specific location and label it for future
reference. Once marked, the STiR Plus will
provide an alert before you reach this area
again. This can be extremely useful when
there are known speed traps or safety
cameras in a particular location.
Page 8
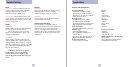
Display Brightness (BRT)
The “BRT” button selects your preferred
brightness level. The factory default
setting is Auto (automatic), which will
adjust the display brightness based on the
ambient light in the vehicle. See the
Settings section for details.
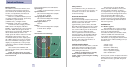
MatrixDisplay
The STiR Plus’s alphanumeric display
consists of 280 individual LEDs, to provide
an intuitive ultra-bright display of
signal strength and text messages. The
STiR Plus’s display will show Highway,
Autoscan, City or CityNoX as its power-on
indication. If you prefer, you can choose
other power-on indications. Pages 12-15
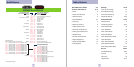
During an alert, the display will
indicate the radar or laser band, and a
precise bar-graph of signal strength.
Page 14
Note: In the Dark Mode the
display will not light during an alert.
GPS Signal Indicator
The GPS icon indicates reception of GPS
satellite signals and will rotate when
a false alert is being rejected.
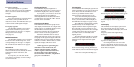
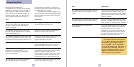
Power Button
Press and hold to manually turn the STiR
Plus on or off. If installed properly, the
system will turn on or off automatically
with the ignition.
Sensitivity Button (SENS)
The “SENS” button selects the STiR Plus’s
sensitivity. The choices are Highway (full
sensitivity), AutoScan (based on the speed
of the vehicle), City (reduced X and K-
band sensitivity) and City No X, (same as
City but without X-band). In general, we
recommend AutoScan.
Page 7
Volume Button (VOL)
Press and hold the VOL button on the
controller to adjust the alert volume level.
The audio will ramp up to increase, down
to decrease, accompanied by a bar-graph
on the display.
To change the direction of the audio
ramping (down instead of up or vice
versa) simply release the VOL button
quickly press and hold it again to change
its direction.
NOTE: Your preferred audio level
will be stored in memory, even after
the detector is turned off.
Mute Button (Mute)
Briefly press this button to silence the
audio for a specific alert. (The audio will
alert you to the next encounter.)
Pages 6-7
Display ModuleControl Module


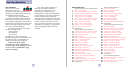
Find Your Products By Category
- Computer Equipment
- Portable Media
- Photography
- Car Audio and Video
- TV and Video
- Household Appliance
- Automotive
- Communications
- Kitchen Appliance
- Laundry Appliance
- Home Audio
- Lawn and Garden
- Power Tools
- Musical Instruments & Equipment
- Baby
- Personal Care
- Video Game
- Marine Equipment
- Fitness & Sports
- Outdoor Cooking
- Cell Phone
Please Login
