

3.5
Owner's of the Cuisinart Microwave Oven CMW-100 gave it a score of 3.5 out of 5. Here's how the scores stacked up:

8
9
4. Microwave cooking
a. Press POWER repeatedly to select
microwave power.
and
or
will show on display.
b. Press number keys to enter the
cooking time; the maximum
cooking time is 99 minutes and
99 seconds.
c.
Press START/+30SEC. to start
cooking, and the remaining cooking
time will be displayed. “:”,
,
or
indicators will be flashing.
Note: In the process of cooking, if the
STOP/CLEAR button is pressed or if
there is no operation within 1 minute,
the oven will go back to the former set
-
ting automatically.
5. Express Cooking
a. For quick starting, instant cooking
at 100% power level can be start
-
ed by selecting a cooking time
from 1 to 6 minutes by pressing
Express Cook number pads 1 to 6.
Press START/+30SEC. to increase
the cooking time; the maximum
cooking time is 99 minutes and
59 seconds.
b. For quick starting, instant cooking
at 100% power level with 30 sec
-
onds’ cooking time can be started
by pressing START/+30SEC. Each
press on the same button will
increase cooking time by 30 sec
-
onds. The maximum cooking time
is 99 minutes and 59 seconds.
Note: Each press on START/+30SEC. will
increase the cooking by 30 seconds for
the microwave and Auto menu cooking.
However, the operation will not work with
Auto Defrost operation.
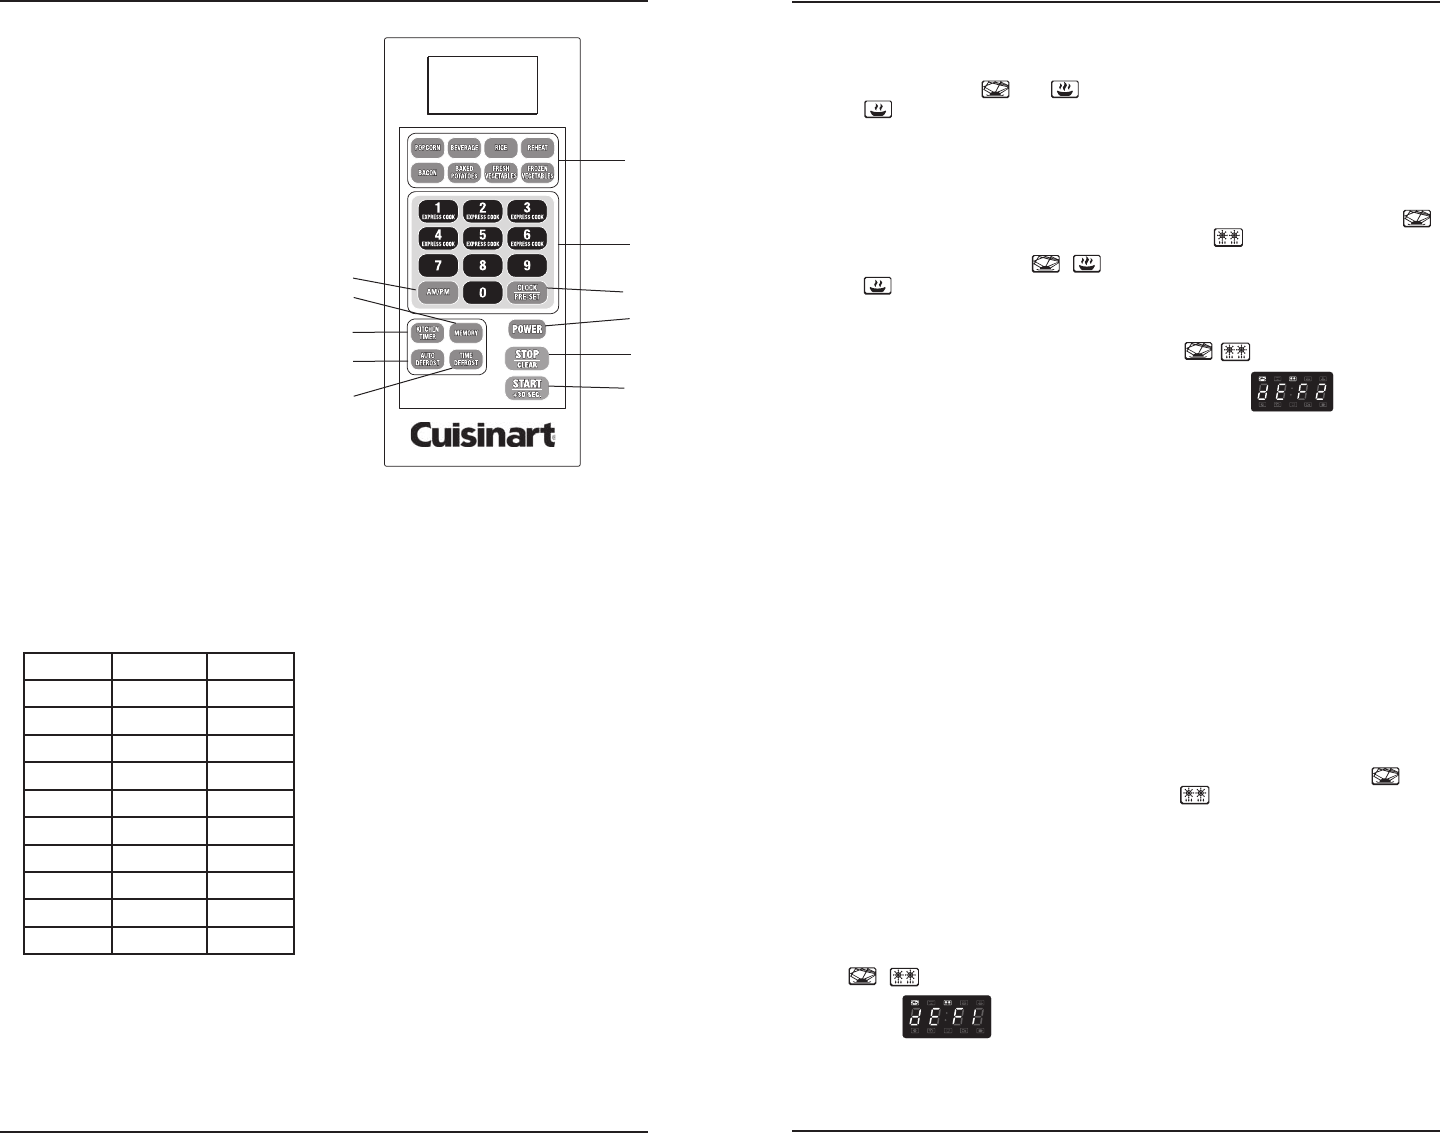
6. Auto Defrost
a. Press AUTO DEFROST. LED will
display “dEF1”. At the same time,
,
indicators will be lighted
.
b. Press numerical pads to enter
weight of food to be defrosted.
“Oz” indicator will be lighted. Enter
the weight between 4 and 100 oz.
c. If the weight entered is not
between 4 to 100, the entry will be
invalid. No beep will sound and the
microwave will not work until valid
numbers are entered.
d. Press START/+30SEC. to start
defrosting and the remaining cook
-
ing time will be displayed. “:”,
and
indicators will be flashing
and the “Oz” indicator will go out.
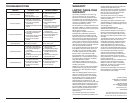
7. Defrosting by Time
a. Press TIME DEFROST. LED will
display “dEF2”. At the same time,
, indicators will be lighted.
b. Press number keys to enter
defrosting time. The time range is
00:01 to 99:99 minutes.
c. If the time entered is not within
0:01 to 99:99, no beep will sound
and the microwave will not work
until valid numbers are entered.
d. The default microwave power is
power level 3. If you want to
change the power level, press
POWER once, and the LED will
display “PL 3”, then press the
number pad for the power level
you want.
e. Press START/+30SEC. to start
defrosting. The remaining cooking
time will be displayed. “:”
and
indicators will be flashing.
8. Memory Function
a. Press MEMORY to choose memory
1-5 procedure. The LED will display
1,2,3...5.
b. If the procedure has been set, press
Start/ +30 Sec. to use it. If not,
continue to set the procedure.
c. After setting, press MEMORY to
save the procedure and turn back
to the stand-by state. If you press
Start/ +30 Sec., it will save the
setting and run the procedure.
WARNING: Do not install oven over a
range cooktop or other heat-producing
appliance. If installed near or over a heat
source, the oven could be damaged and
the warranty would be void.
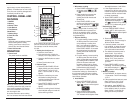
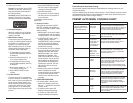
CONTROL PANEL AND
FEATURES
1. AM/PM
2. Memory
3. Kitchen Timer
4. Auto Defrost
5. Time Defrost
6 Auto Menu
7. Number Keys
8. Clock/Pre-Set
9. Power
10. Stop/Clear
Clears all previous settings pressed
before cooking starts. During
cooking, press once to stop oven;
twice to stop and clear all entries.
11. Start/+30 seconds
OPERATION
1. Power Level
Ten power levels are available.
Note: If you want to set the power level
to something other than high, press the
power button repeatedly until desired
power level is reached. Power counts
down from high to low.
Use number buttons to set a cooking
time. You can set a time from one second
to 99 minutes, 99 seconds. To set a time
over one minute enter the seconds too.
For example, to set 30 minutes, enter
3-0-0-0.
2. Setting the clock/pre-set
a. Press the clock button.
b.
Enter the time using 4 digits; for
example, for 2:21pm, press 0-2-2-1.
c. Press the AM/PM button to select
AM/PM.
d. Press Clock button to set.
3. Kitchen Timer
a. Press KITCHEN TIMER. LED will
display 00:00, and clock indicator
will be lighted. The first “0” will
flash; “:” and the other “0” will be
lighted.
b. Press the number keys to enter
the desired cooking time (the
maximum cooking time is 99 min
-
utes and 99 seconds).
c. Press START/+30SEC. to confirm
setting. Clock indicator will be
lighted.
d. When the cooking time is finished,
clock indicator will go out and the
buzzer will ring 5 times.
4.
5.
3.
2.
1.
10.
6.
9.
7.
8.
11.
Level Power Display
10 100% PL10
9 90% PL9
8 80% PL8
7 70% PL7
6 60% PL6
5 50% PL5
4 40% PL4
3 30% PL3
2 20% PL2
1 10% PL1


Find Your Products By Category
- Computer Equipment
- Portable Media
- Photography
- Car Audio and Video
- TV and Video
- Household Appliance
- Automotive
- Communications
- Kitchen Appliance
- Laundry Appliance
- Home Audio
- Lawn and Garden
- Power Tools
- Musical Instruments & Equipment
- Baby
- Personal Care
- Video Game
- Marine Equipment
- Fitness & Sports
- Outdoor Cooking
- Cell Phone
Please Login
