

3.7
Owner's of the RCA Universal Remote RCR6473 gave it a score of 3.7 out of 5. Here's how the scores stacked up:
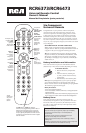
5
Testing the Code for Maximum Functionality
Different remote control codes can provide different levels of
functionality. To confirm that the component key is programmed
with the correct code for maximum functionality, follow the
steps below.
1.
Make sure your component is on. Attempt to control a
variety of the component’s functions with the remote. If some
features of your components do not work, go to step 2 to try a
different code.
2. Repeat the Auto Code Search Method from step 1. When
you’ve found the code that turns your component back
on, do not press the STOP key, which would store the
code. Instead, with the unit now on, continue to press the
REVERSE key repeatedly until the unit turns back off.
Note: If you cannot find another code in this block that works, press
the PLAY key to continue searching through the code blocks. When the
component turns off again, press the REVERSE key to find the code in
that block that makes your component turn back on.
3. Once the unit turns back on, you have found another code
that operates the component. Press the STOP key.
4. Test the key’s functionality again by attempting to control a
variety of the component’s functions.
If the code that has been stored controls the majority of the
component’s functions, programming is complete.
If the code stored does not give maximum functionality, try
another code—start from step 2 of this section.
Code Retrieval
Once you’ve programmed the remote to control your
components, you may want to record the codes for future
reference. If you used the Direct Code Entry method, this is easy.
Just find the codes you entered and make a note of them in the
boxes below. If you used one of the Code Search methods to
program your remote or if you used the Direct Entry method
but don’t remember the code, you will need to retrieve each
component’s four-digit code. Retrieving the actual code and
writing it down will save you time if you ever need to program the
remote again (e.g., if programming is lost when you change the
batteries). If the codes are recorded, you can use the Direct Entry
method to reprogram your remote to control your components.
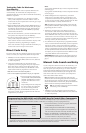
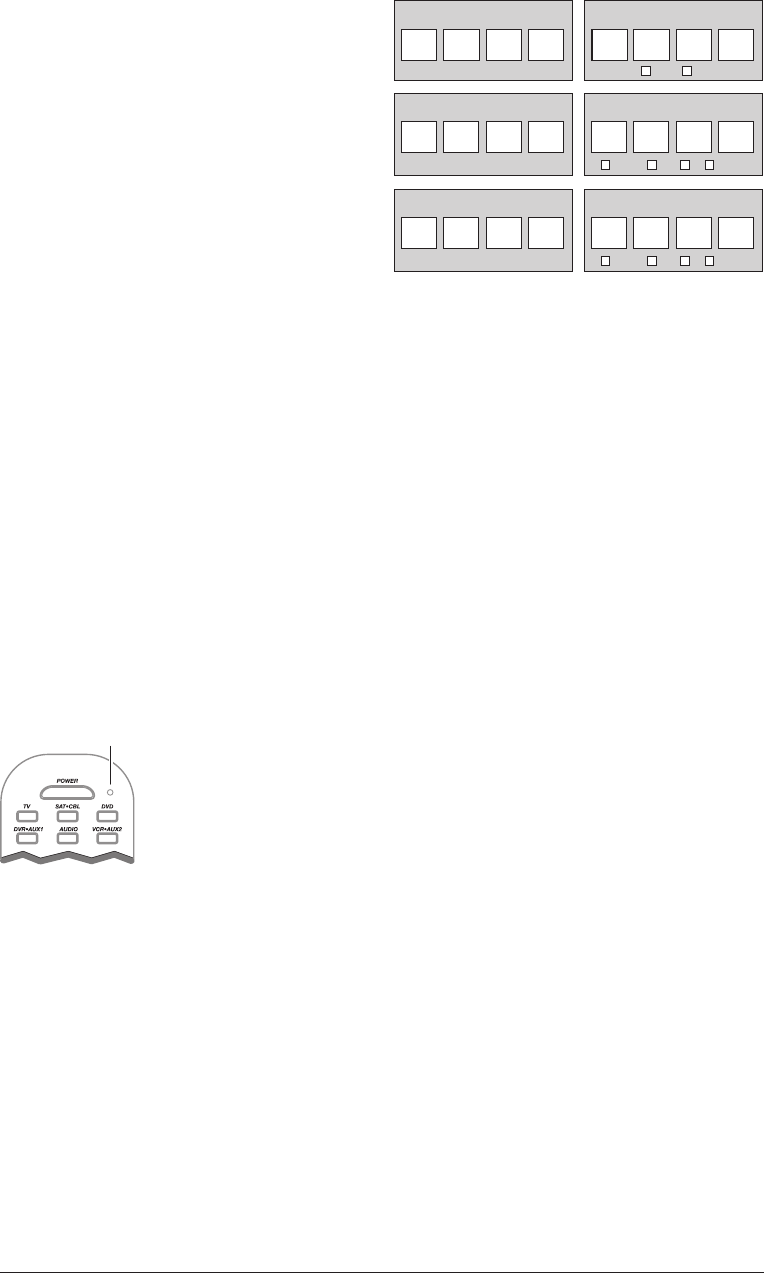
1. Press and hold the component
key (TV, SAT•CBL, DVD,
DVR•AUX1, AUDIO,
VCR•AUX2) whose code you wish
to retrieve. The LED turns on.
Keep pressing the component key.
2. While holding the component key
down, press and hold the INFO
LED
key. The LED turns off. After holding down both keys for
three seconds, the LED turns back on.
3. Release both keys. The LED remains on.
4. Starting with the number 1 key, press each number key on
the keypad in the following order (1-9, then 0). The number
that causes the LED to blink is the first number of the code.
As you find each number of the code, write it down for
future reference.
Note: All TV codes begin with the number 1; all VCR and DVR
codes begin with the number 2; all DVDs, the number 3; all audio
componenets, the number 4; and all satellite receivers and cable boxes,
the number 5.
5. Repeat step 4 until you have retrieved all four numbers in
the code. After the fourth number is retrieved, the LED
blinks briefly, then turns off.
TIP: To exit the Code Retrieval Mode, press the CLEAR key at any time.
Note: If you press an invalid key during the Code Retrieval process,
the remote will not respond. If you do not press a valid Code
Retrieval key (TV, SAT•CBL, DVD, DVR•AUX1, AUDIO,
VCR•AUX2, INFO, CLEAR), Code Retrieval times out after 15
seconds. The LED blinks four times, and then turns off.
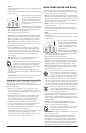
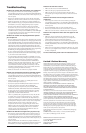
1
TV Code SAT•CBL Code
SAT CABLE
3
dVd Code dVR•Aux1 Code
dvr/vCr dvd Tv SAT•CBL
5
4
AudIo Code VCR•Aux2 Code
dvr/vCr dvd Tv SAT•CBL
Using the Remote to Control
Your Components
Because this remote controls more than one component, you
must first “tell” the remote which component you wish to operate.
That means, if you wish to operate your TV, you must first press
the TV key to put the remote in the TV Mode.
The remote stays in the chosen component mode (such as TV
Mode) until you change it. If your remote is in TV Mode, you
must change the mode in order to operate your DVD, VCR, DVR,
audio component, satellite receiver, or cable box. For example,
if you are in DVD Mode, and you wish to turn off your TV, you
must press the TV key first before pressing the POWER key.
Volume Punch-through
Volume Punch-through allows the VOL and MUTE keys, when
pressed in SAT•CBL, DVD, DVR or VCR modes, to “punch
through” to either TV or AUDIO, whichever was accessed last.
Volume Punch-through occurs automatically and allows you to
control the volume without exiting the current mode. (If either
AUX key has been programmed with a TV or AUDIO code,
that must be considered when determining the last active TV or
AUDIO component used.)
Note: Volume Punch-through does not occur in cases where the
component code has its own volume/mute data, such as a satellite
receiver with its own volume/mute control.
Advanced Punch-through
Volume Punch-through, as described above, occurs automatically.
However, if you want to specify whether the Volume Punch-
through is directed to the TV or AUDIO while in SAT•CBL,
DVD, DVR or VCR modes, follow the steps below.
Note: This option can also be enabled for an AUX key, if it is
programmed with a VCR, DVR, DVD, CD, SAT or TV code.
1. Press and hold any component key programmed for VCR,
DVR, DVD, CD, SAT or HDTV. The LED turns on.
2. While holding down the component key, press and hold the
VOL up key. The LED turns off.
3. After holding down both keys for 3 seconds, the LED turns
on and stays on. Release both keys.
4. Press and release the component key you want the Volume
Punch-through to be directed to from the selected mode
(TV, AUDIO or AUX key). The LED flashes, then turns off.
Note: The component key pressed in step 4 must be programmed with
a TV or AUDIO component. If an invalid key is pressed, the LED
flashes four times, then turns off.
Important: Once you have programmed any component with a
specified Volume Punch-through, the Volume Punch-through for
all other components defaults to AUDIO. If you do not want other
components’ Volume Punch-through to default to AUDIO, you must
manually program them, using steps 1-4.


Find Your Products By Category
- Computer Equipment
- Portable Media
- Photography
- Car Audio and Video
- TV and Video
- Household Appliance
- Automotive
- Communications
- Kitchen Appliance
- Laundry Appliance
- Home Audio
- Lawn and Garden
- Power Tools
- Musical Instruments & Equipment
- Baby
- Personal Care
- Video Game
- Marine Equipment
- Fitness & Sports
- Outdoor Cooking
- Cell Phone
Please Login
